![]()
NERVE Commons Documentation
What is NERVE?
NERVE (the Named Entity Reconciliation Vetting Environment) assists with identifying and linking named entities within documents, using machine-learning-based technology for efficiency and incorporating human judgement to ensure high-quality semantic markup and reconciliation of named entities within documents.
NERVE recognizes fragments of texts that may represent named entities in documents, allows you to review and accept, reclassify, or reject the candidates entities and match them to external identifiers.
You can save your work as TEI (Text-Encoding Initiative) XML markup and/or Web Annotations to contribute to the Semantic Web.
Getting Started
Please note:
- You must be online with a reasonably fast internet connection to use NERVE.
- You can experiment with NERVE without being logged in but there may be glitches.
- To load, process, and save documents with NERVE, you must sign in using a GitHub or a LINCS Account. You can create a LINCS account directly or LINCS will create an account (with the LINCS account service) when you log in using GitHub for the first time. We do not share account information with any third parties.
Opening a document
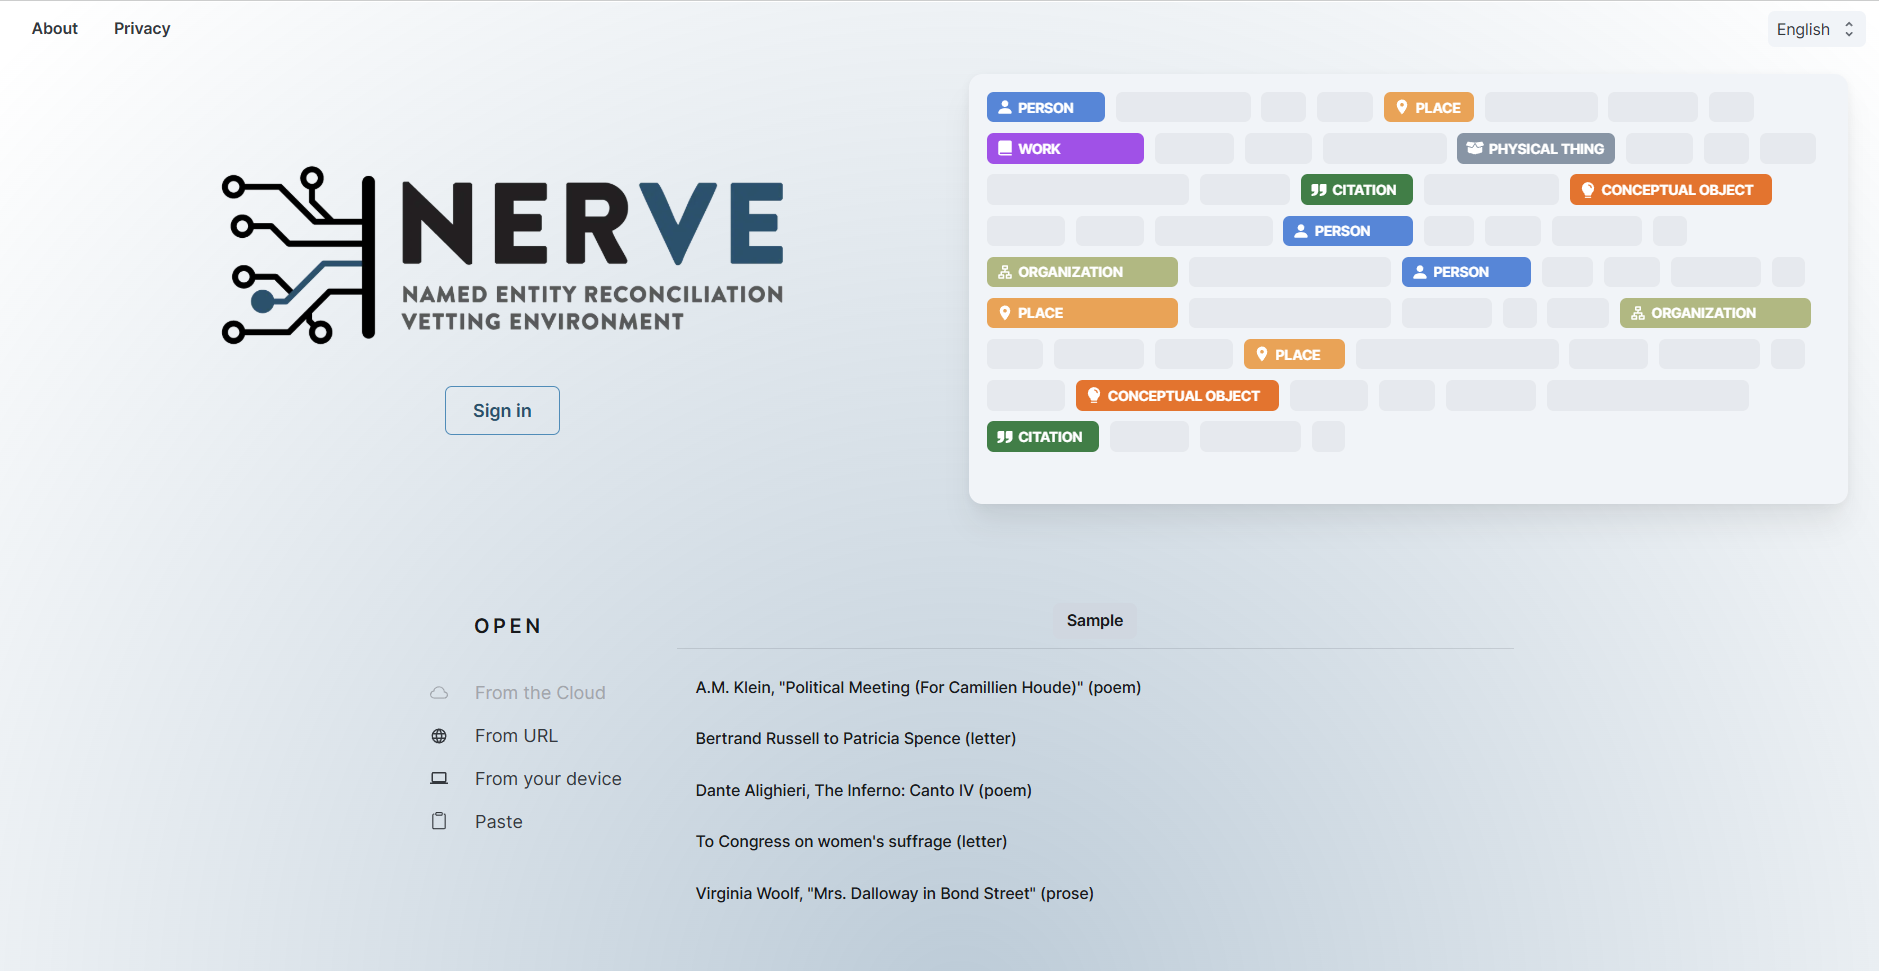
NERVE’s homepage prompts you to choose a sample document or to open a document from the Cloud or your computer.
Documents opened with NERVE must be well-formed XML documents that reference a schema supported by NERVE. Supported schemas include the Text Encoding Initiative (TEI) and TEI customizations, as well as the Orlando and CWRC schemas.
Once a file is selected, allow a few seconds to process before it appears on in the document pane. If the file does not load, try refreshing your browser. If it does not appear, open the file again.
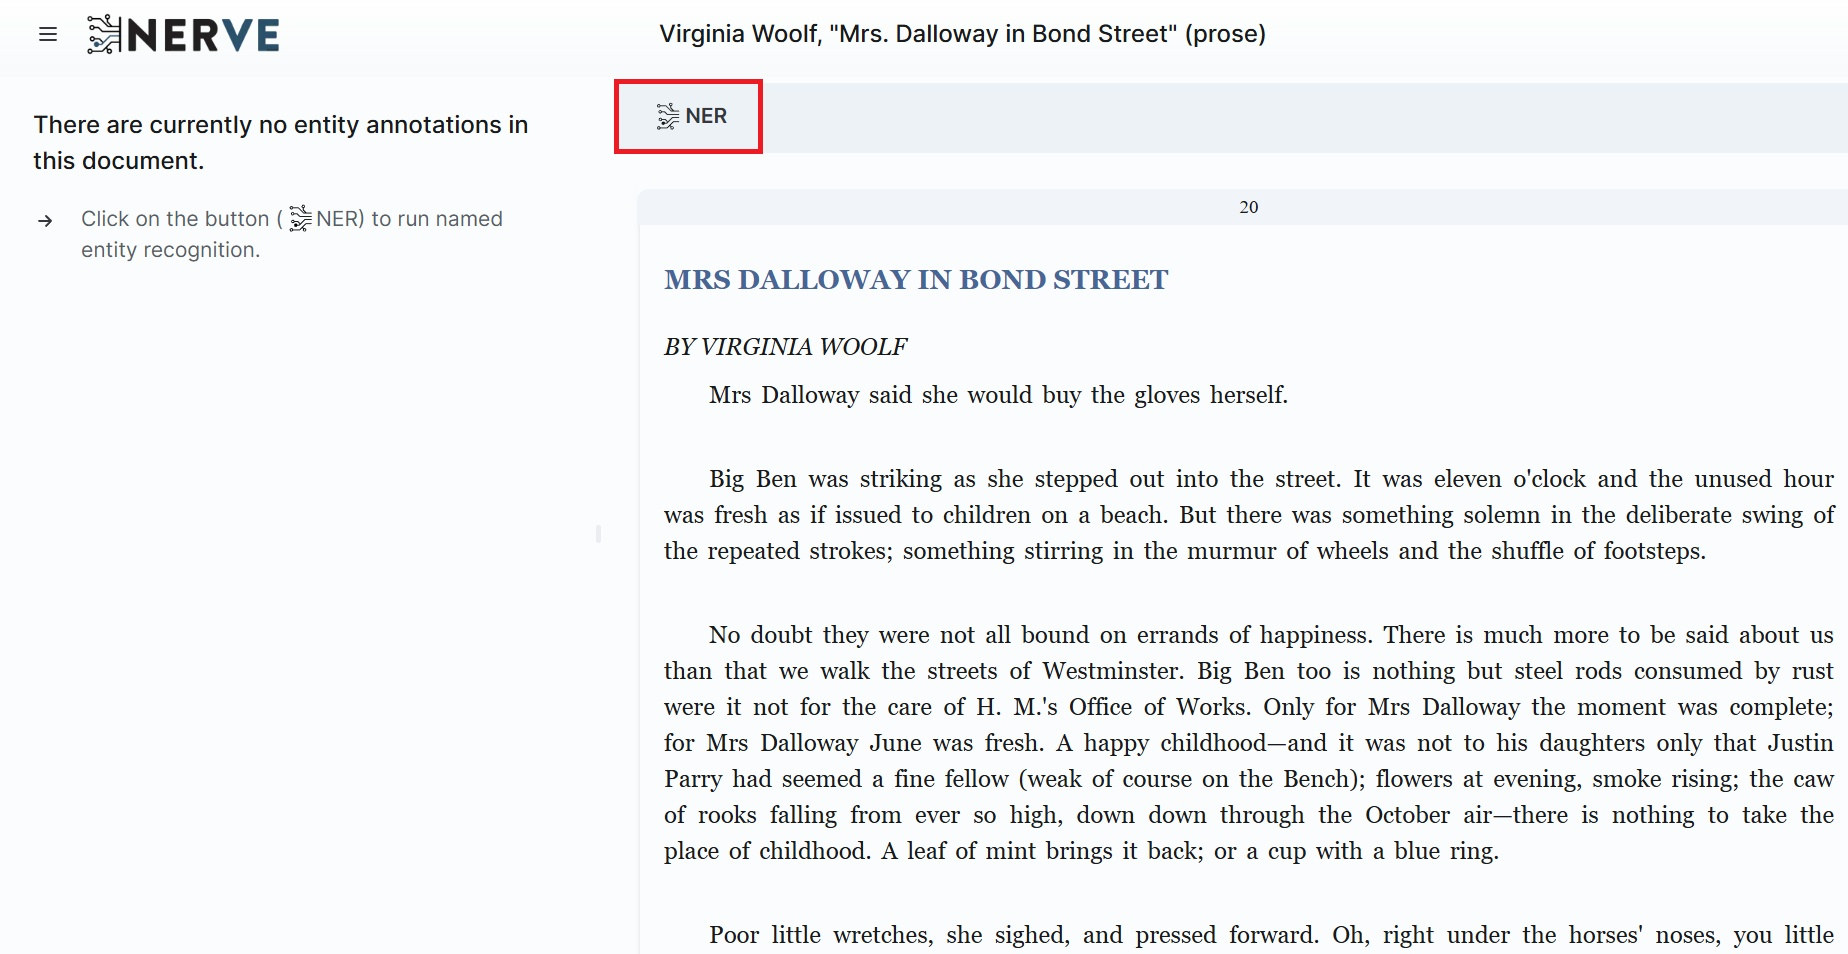
Scanning for Entities (Named Entity Recognition) in the document pane
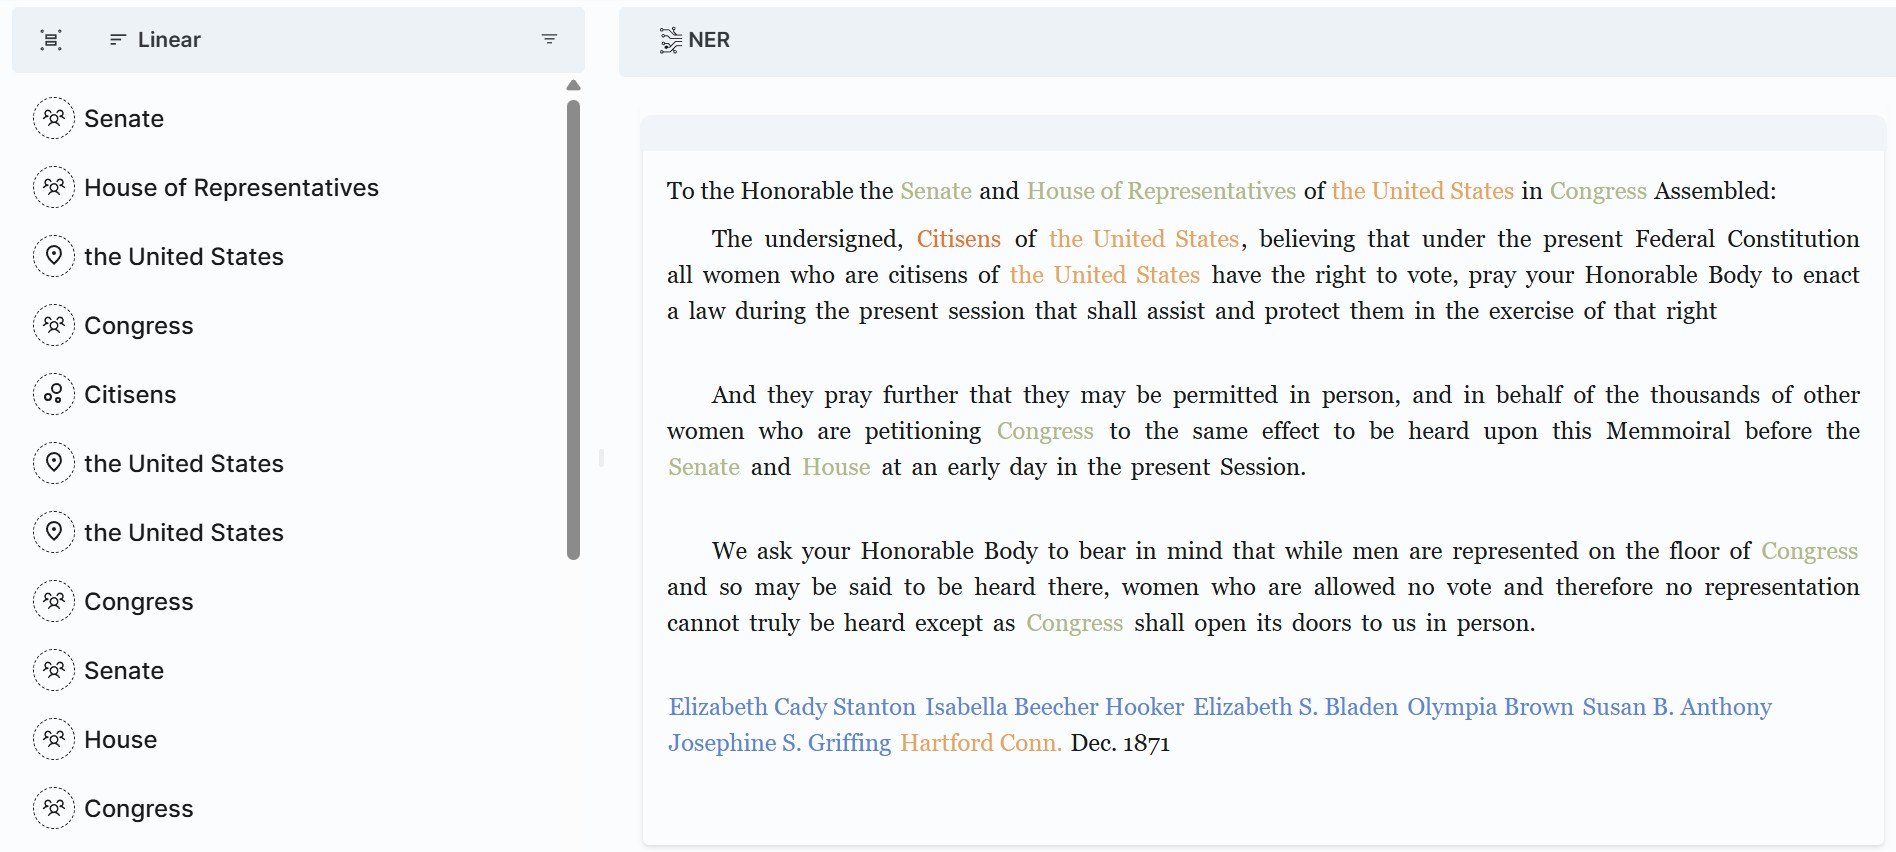
Once your document is loaded, you will see the button labelled “NER” at the top of the document pane to run NERVE’s Named Entity Recognition. The NER will identify and display Candidate Entities in the Sidebar to the left of the document pane, allowing you to review the candidate entities.
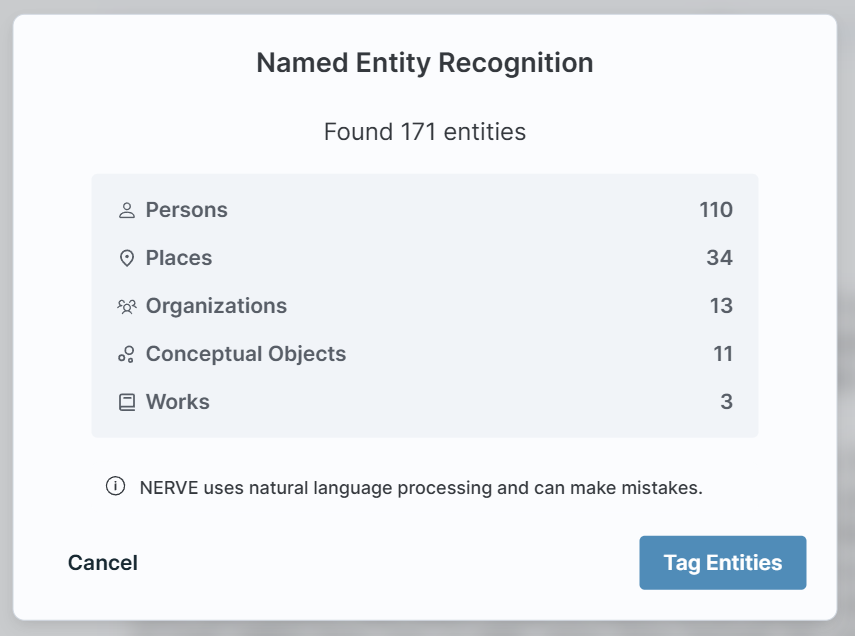
The NER will summarize the candidate entities it has found in a pop-up box, as well as the categories they fall under. Select “Tag Entities” to proceed to tag the found entities.
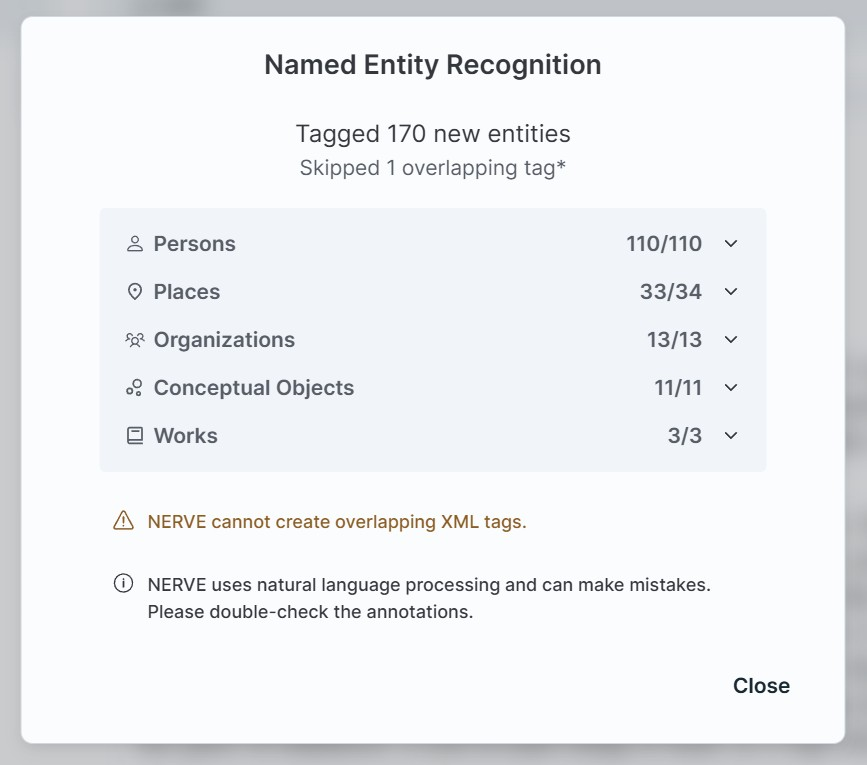
The next pop-up box summarizes the number of entities tagged. If NERVE finds any overlapping entities, that is, where two entities overlap within the same string of text, it cannot tag in XML and will drop them but alert you in this summary screen. If you want to tag entities manually to deal with overlap in the NER, you can do so using LEAF-Writer, it will alert you before displaying entities in the right-hand bar.
The “What’s next” pop-up provides quick information on next steps for vetting, linking, and editing entities.
.png)
Your document will now show the candidate entities detected by the NER process, coloured according to how they have been classified, and you will see them listed in the Entity sidebar.
Vetting, Linking and Editing Candidate Entities
Ordering and Filtering Entities
The Entities panel is the sidebar to the left of the document panel.
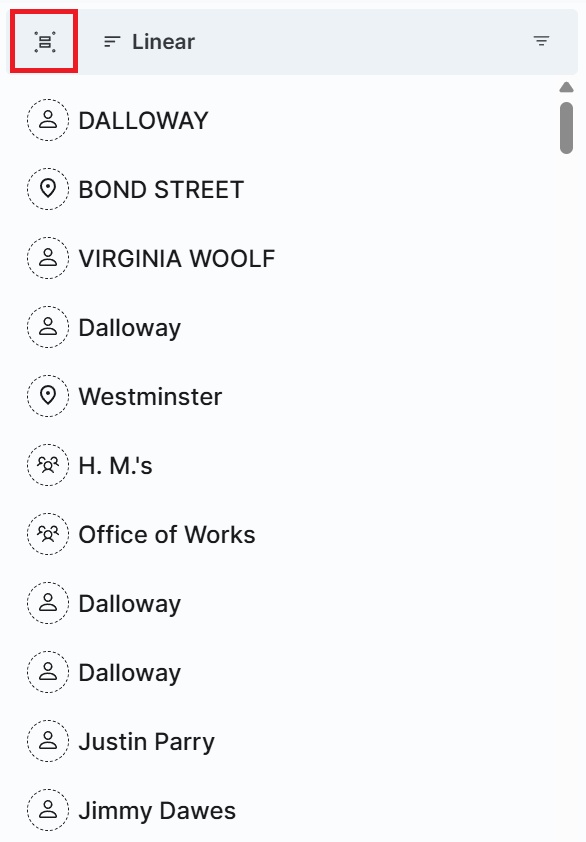 Group: Click the Group icon to combine all instances of entities with the same name. In this mode, all entities in a group are approved, rejected or edited as a batch to facilitate vetting.
 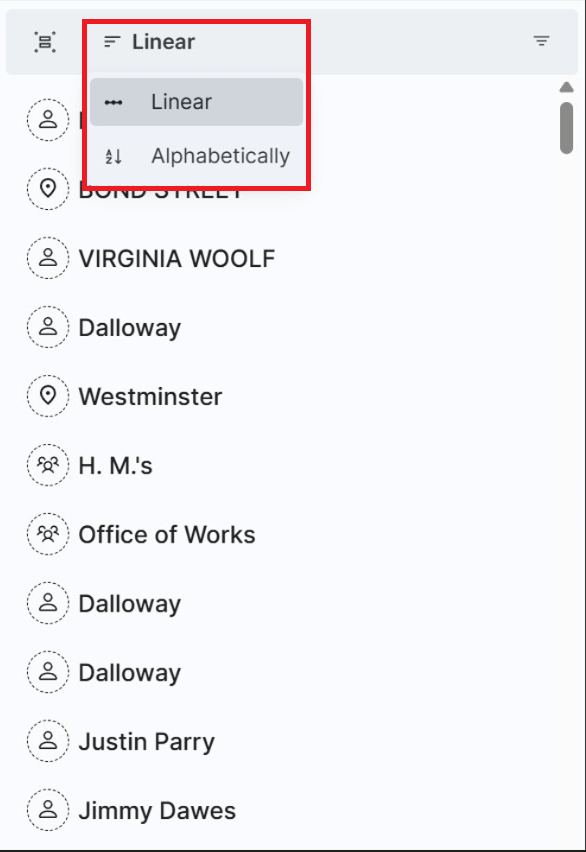 Sort: Entities are initially listed by order of appearance (linear). To sort entities in alphabetical order, click to select ‘Alphabetically’.
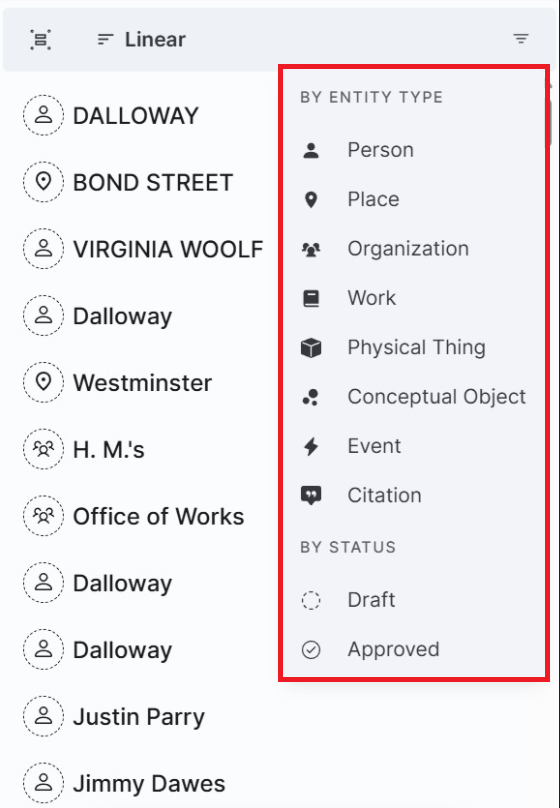 Filter: Click the Filter icon to filter entities by one or more Entity type (Persons, Place, Organizations, Work, Physical Thing, Conceptual Object, Event, Citation), or by Status (Draft or Approved).
Selecting Entities
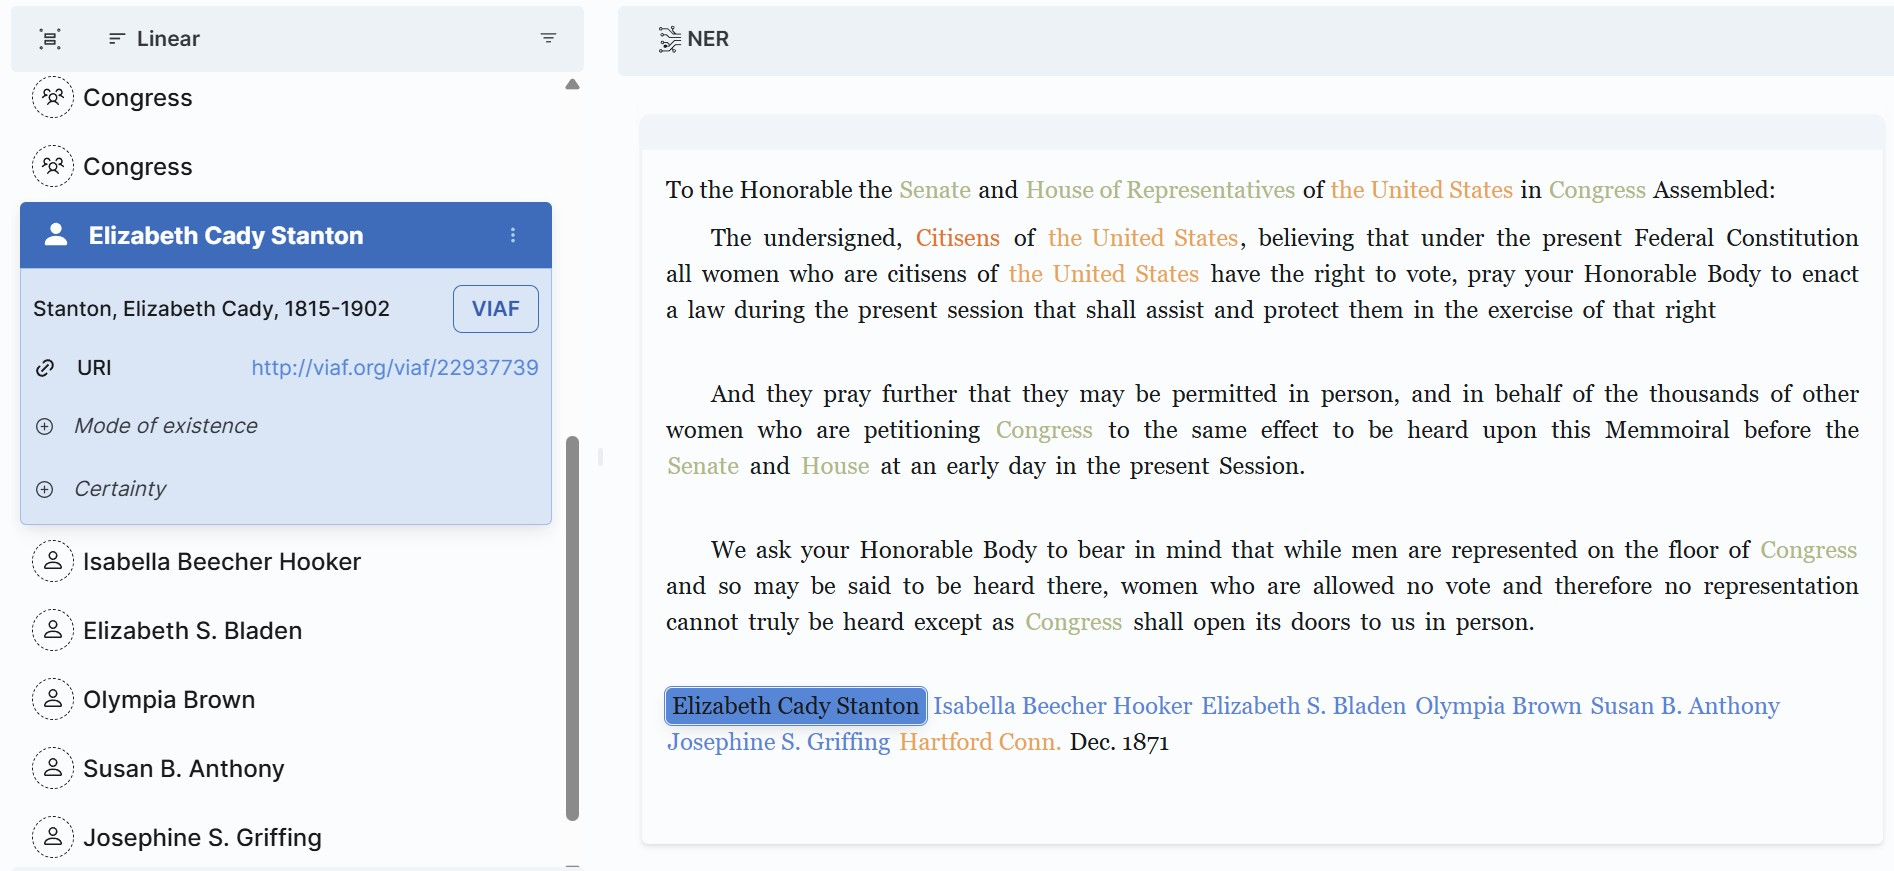
Candidate (unapproved) entities appear in the document pane in a font coloured to indicate the entity type they have been assigned, and appear with a question mark after them when hovered over them. Once approved, entities appear in a solid box, coloured by entity type.
-ffe08a5903d2353cd8104e4c6876e989.png)
- You can select an entity by clicking on the coloured text in the document pane, which will bring it up along with potential matches in the Entity sidebar.
- Alternatively, you can work through entities, ordered and filtered as you choose, by clicking to select them in the sidebar. The text in the document pane will scroll to the point where the entity appears so the context can be viewed.
Vetting Entities
Selected entities appear in the Entity pane. Once you have selected an entity, potential matches from external ID sources appear in tabs below its name, and a new menu bar appears at the bottom of the Entity pane.
- Accepting or rejecting entities: This can be done on the lower menu bar, either singly or in batches when working with groups. Click the Check Mark at the bottom of the sidebar to approve the match. You will be prompted to save your document once the first entity has been linked, once saved, your changes will be autosaved. Click the x to reject an entity.
-54b10502d15b714918b8d05bc1c14883.png)
-
Entity linking (reconciliation): the Entity panel shows possible matches to external URI sources, organized in separate tabs. Once an entity has been linked, it will appear in the sidebar with a solid entity type ocean, and are highlighted with a coloured box in the document.
-
Entity type: The icon to the left of the name indicates the entity type, which can be checked by mousing over it. You can reclassify an entity by clicking on the three dots at the lower right on the bar at the bottom of the Entity panel.
-b4a72113db937ae82440c5ecef100b38.png)
Editing Entities
To edit or add metadata for a linked entity, click on the solid entity name to open the card. You can relink, reclassify, or reject a linked entity, or click the pencil icon to edit metadata. Edits are automatically saved.
Saving/Exporting
You will be prompted to save your document once you approve and link the first entity in your document.
After that, your document will autosave. To otherwise save your document, or save it as a separate copy, click on the file icon, found at the top left of the NERVE logo. You have the option to save or export your document.
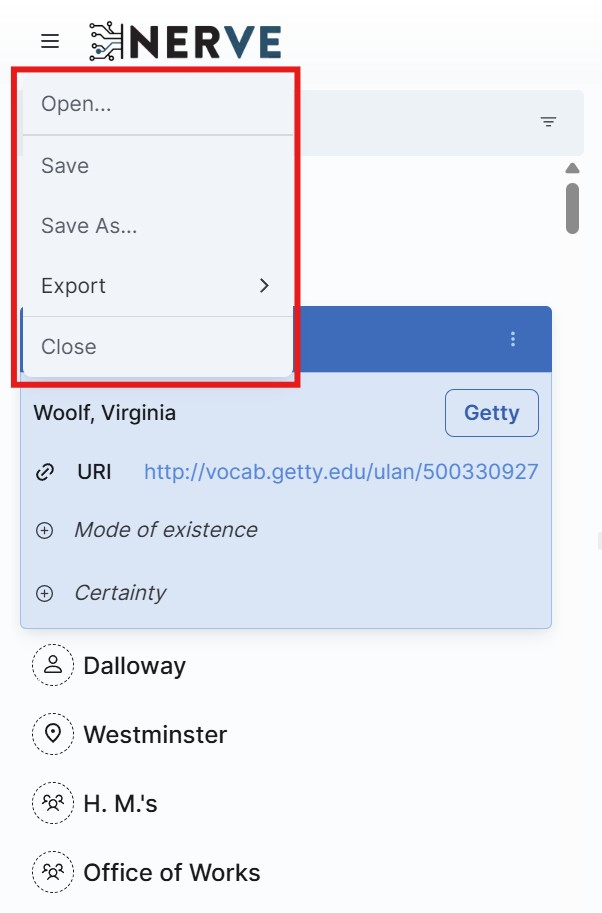
There are three options for file export:
- Export XML & Annotations: An XML file enhanced with tagging of the entities you have approved, with external IDs saved in attribute values on the tags, and corresponding json Web Annotations saved in the <xenodata> at the end of the document.
- XML Only: An XML file enhanced with tagging of the entities you have approved, with external IDs saved in attribute values on the tags.
- Web Annotations Only: A json file of the entities in the form of identifying Web Annotations. These annotations require further processing prior to publication (e.g. specification of the web address for the Target of the annotations).